Getting started / Multiple artboards
Make a social post
and matching story.
Start with a finished design, then make it yours. This fictional printmaking workshop comes with a square post and a tall story, with editable text, photo layers and layout on two artboards.
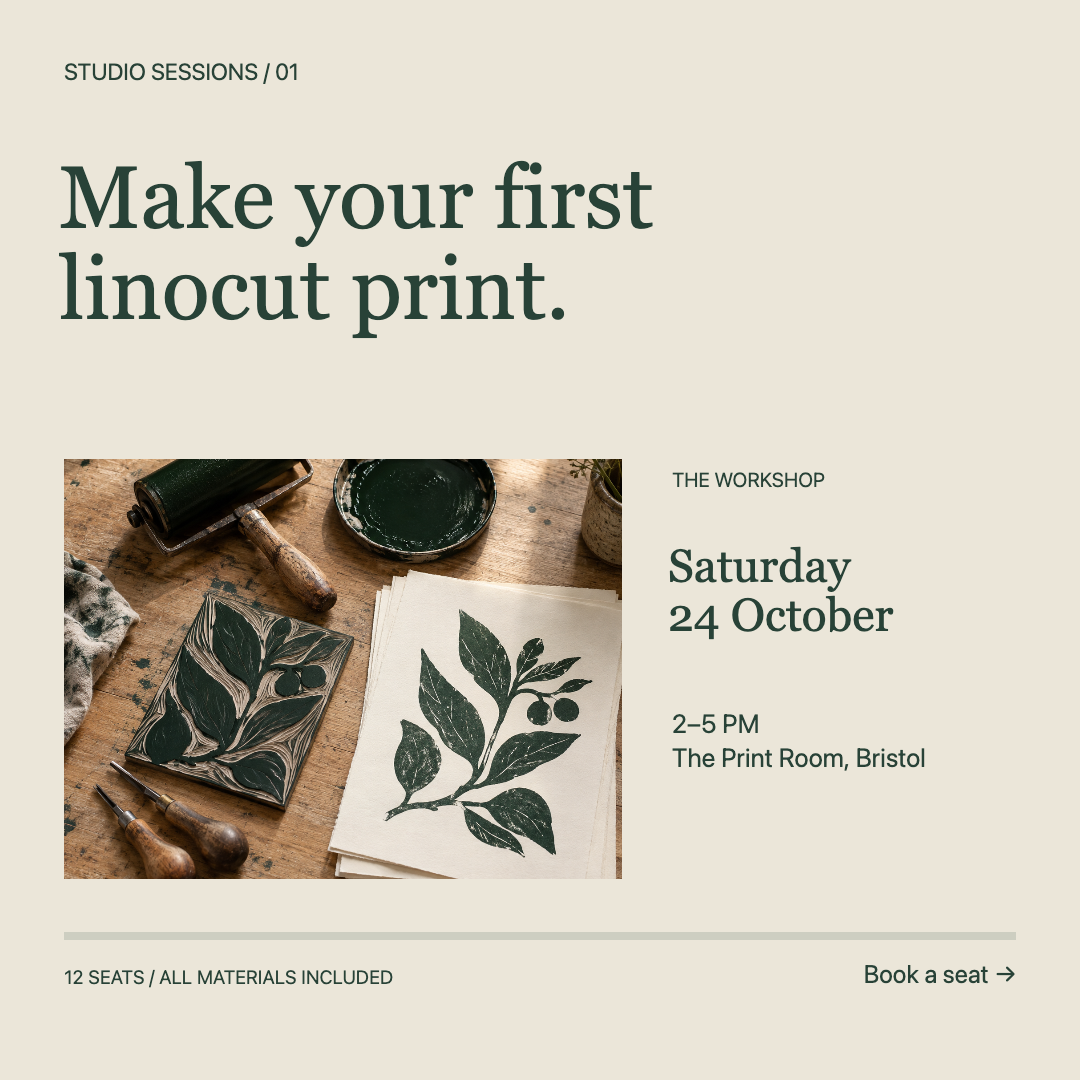
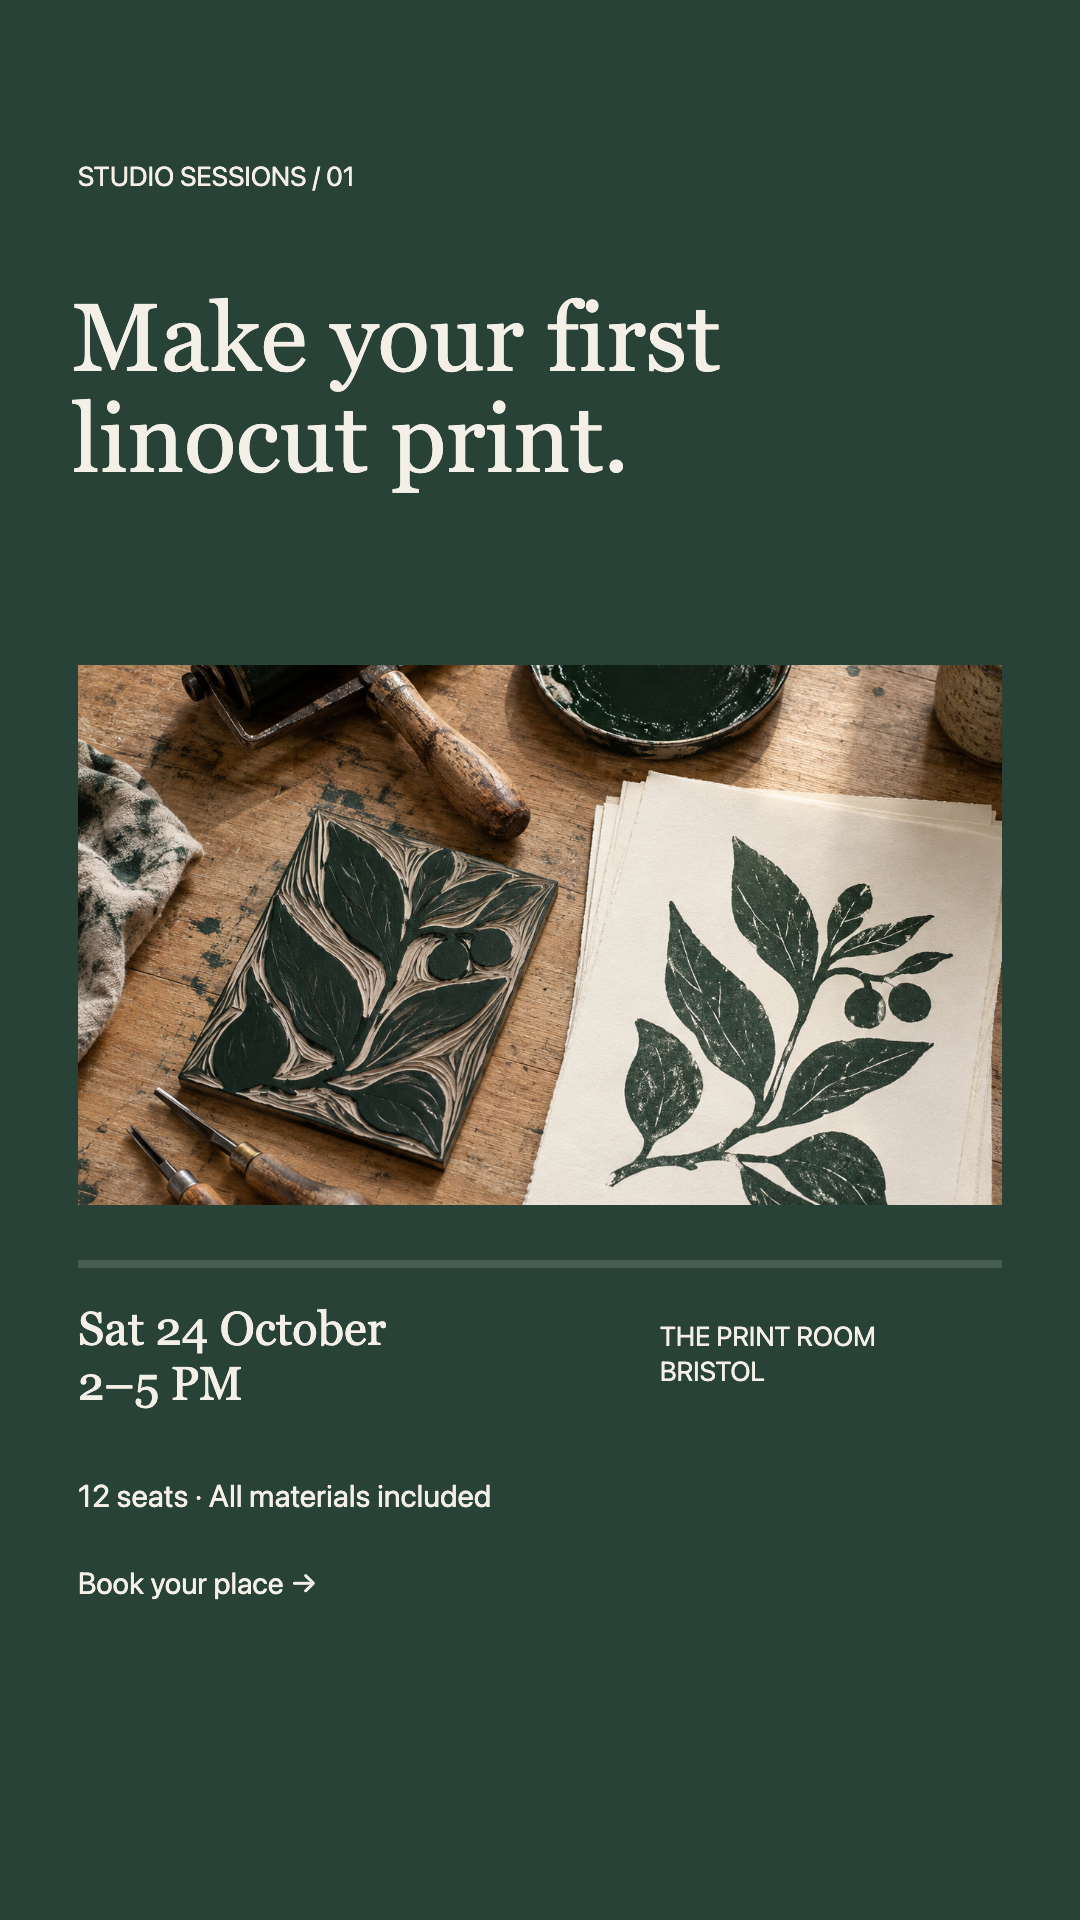
The example contains fictional event details. Replace them before sharing. Both previews above are PNG exports from this project in Artboar.
Open your starting point
Choose Use this template above. If you already have a local draft, Artboar restores it first and offers Keep current, Save project, or Replace with template. Save project requests a download and leaves that choice pending; keep the downloaded copy, then explicitly choose Replace with template. You can also download the editable project and use Open in the editor. Opening a project replaces the current document; it does not merge the files.
In the Artboard panel, choose Square post. Choose Fit active artboard below the canvas to bring the active board into view. On a narrow screen, switch to the Artboard tab below the canvas.
Make the square post yours
Select Headline in Layers, then open the Object panel. Edit Content to replace “Make your first linocut print.” with your own headline. Replace the Series, Date, Schedule, Booking, and Action text the same way. Check that each line fits its frame; shorten the copy or adjust the text size if the editor reports overflow.
Select the Workshop photo / replace with your event layer and replace its image with your own local photo. Crop it to suit the frame. Change text colors in Appearance, and the background in Artboard. Move and resize objects on the canvas, or use the X, Y, Width, and Height fields in Object. The sample uses system Sans and Serif; check its text when moving computers.
Adapt the matching story
Choose Matching story in Artboard, then Fit active artboard. Apply your new wording and colors here too. The sample's two layouts are independent: changing one does not update the other.
The story's extra space is arranged by hand. Resizing an artboard keeps the objects at their existing positions and sizes; it does not automatically rearrange a layout. Review spacing, wrapping, and all event details on both boards.
Export each layout
Choose Square post, open the Export panel, select PNG and 1×, then choose Export image. The result is 1080 × 1080. Switch to Matching story and repeat for a 1080 × 1920 image. You can choose WebP instead when that format suits your destination.
Export downloads only the active artboard. It clips artwork to that board's edges and omits editor controls. Check the exported images before sharing; PNG and WebP files do not retain editable layers.
Keep the editable project
Choose Save project in the top bar and keep the downloaded .design.json file. It includes both boards so you can reopen them with Open, even on another device. Check text after moving computers because system fonts may differ.
Local recovery can resume one draft in this browser, but clearing browser storage can remove it. A downloaded project is your portable backup. Confirm that the browser actually saved your download.